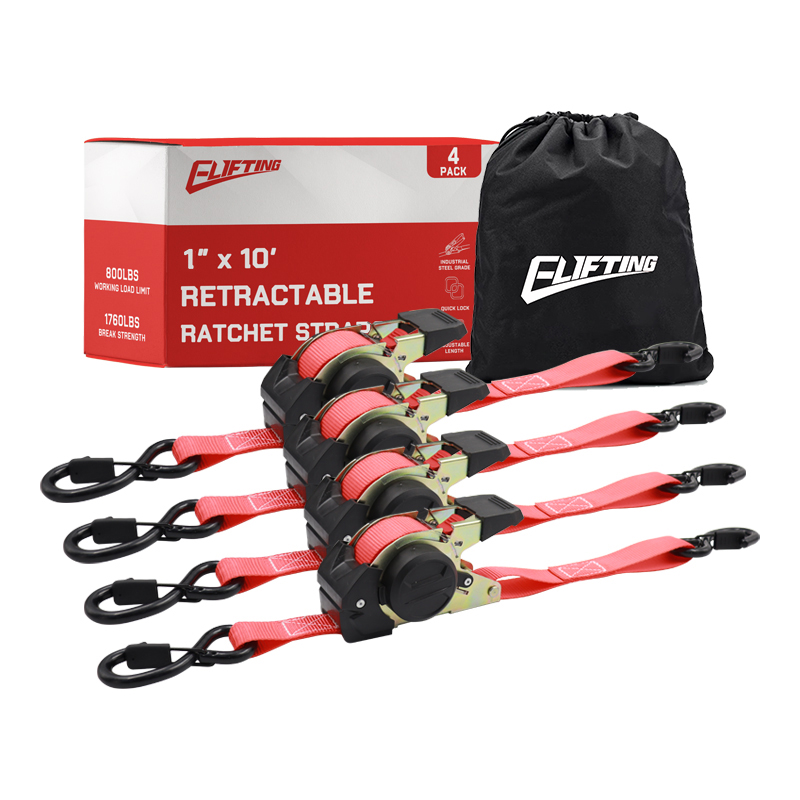
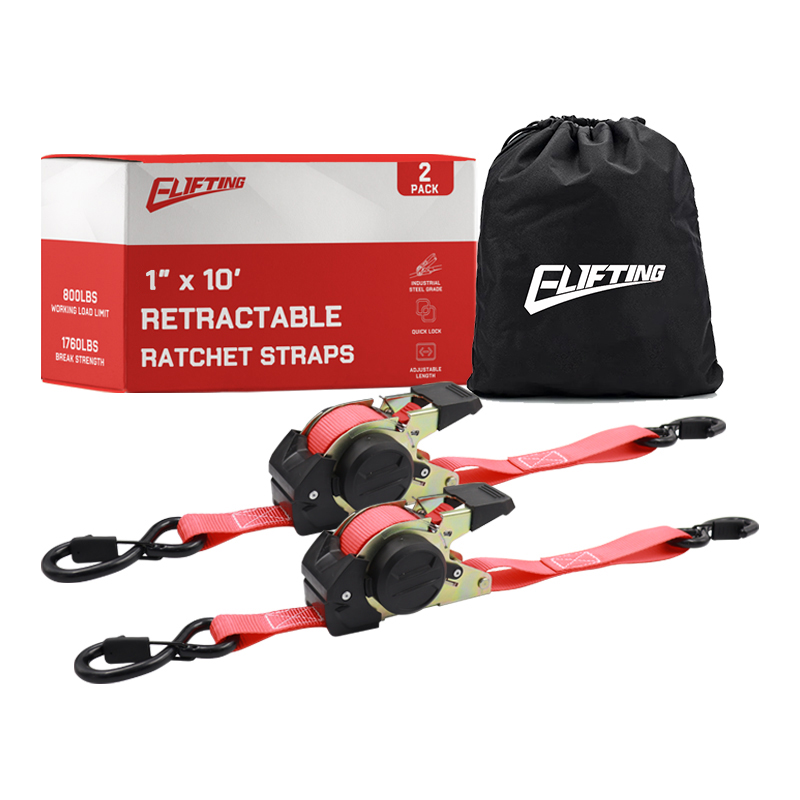
How to Set Up a Ratchet Strap: The Short Version
Setting up a ratchet strap comes down to four moves: thread the webbing through the closed spool, hook both ends to solid anchor points, pull the slack through by hand, then pump the handle until the load stops shifting. Everything else, from the pre-use inspection to the tidy tail, is what separates a strap that holds from a strap that lets go at the first pothole.
We have been building tie-down hardware since 2005, and most setup problems we hear about trace back to two habits: threading the spool from the wrong side, and using the handle to drag in slack that should have been pulled by hand. Get those two right and the rest of the process becomes quick and repeatable.
Below is the full sequence we recommend to drivers, yard teams and trailer builders, along with the checks that keep both the strap and the cargo in one piece.
Know the Parts Before You Thread Anything
A ratchet strap has six working parts, and each one has a job during setup. If you can name them, you can usually diagnose a strap that will not tighten or will not release just by looking at it. The table below is the quick reference our production team uses when training new staff.
The six components of a standard ratchet tie-down and the check each one needs before setup.
| Component |
What it does |
Setup check |
| Polyester webbing |
Carries the load between anchor points |
No cuts, fraying, glazing or knots |
| Ratchet frame and spool |
Grips the webbing and winds it in |
Spool slot clear, no bent side plates |
| Handle |
Multiplies your pulling force |
Moves freely, rivets tight |
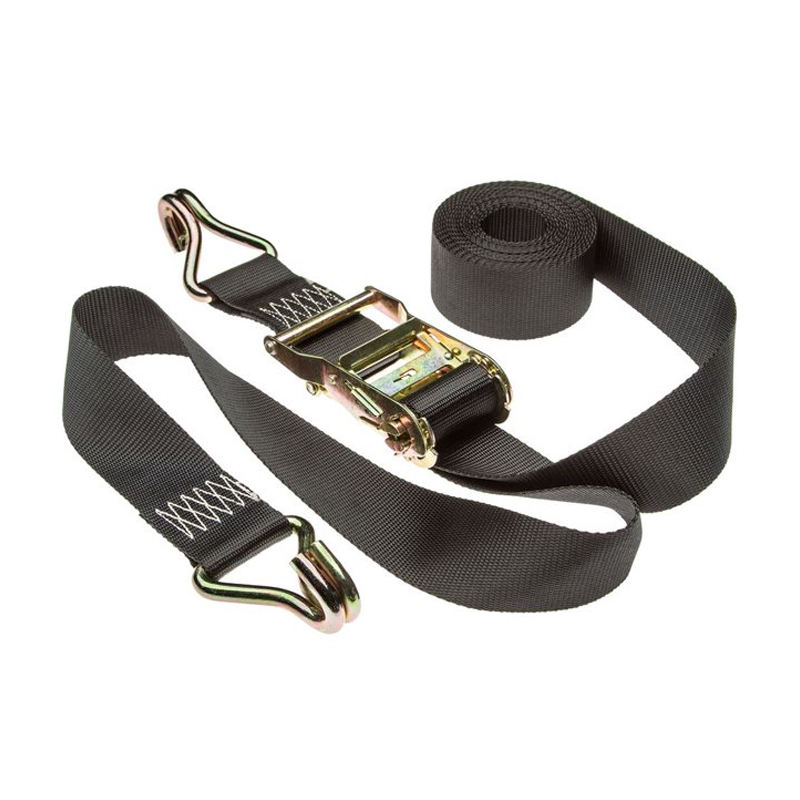
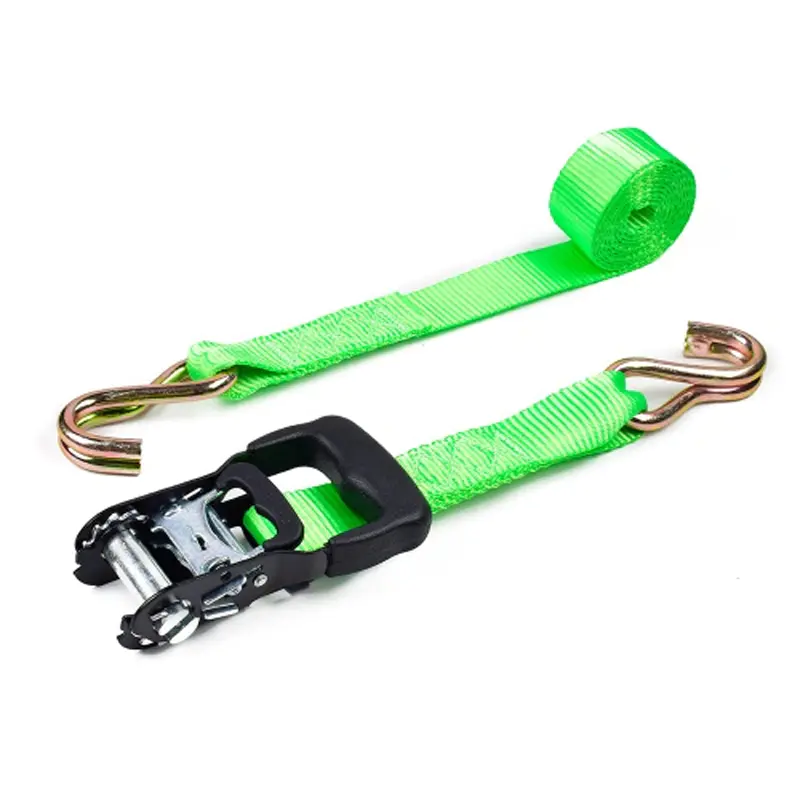
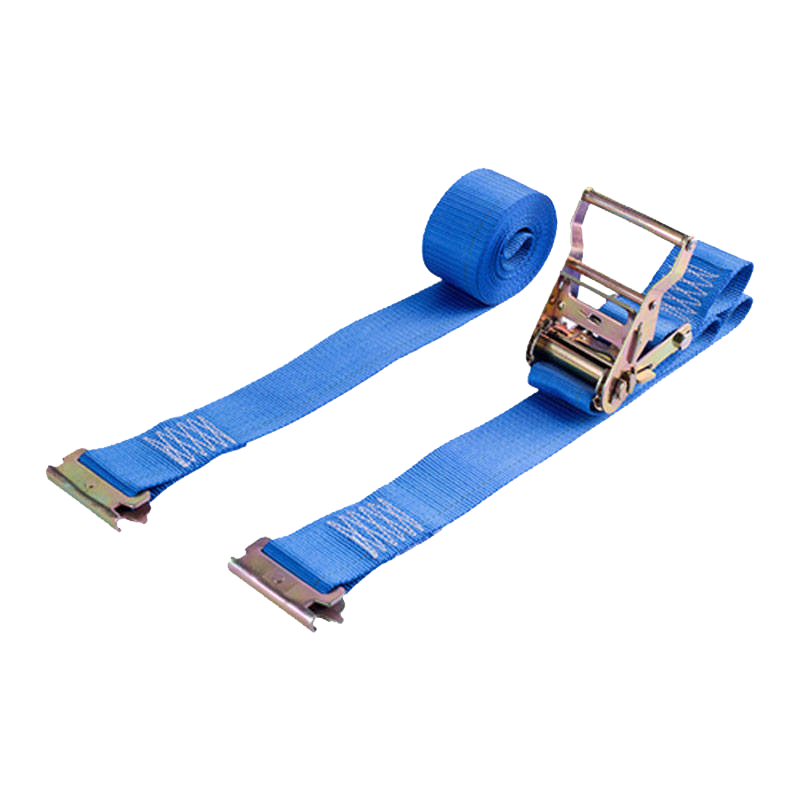
| End fittings (J-hook, S-hook, double J, soft loop) |
Connect the strap to the anchor point |
Latch closes, hook sits flat |
| Release lever and pawl |
Lets the spool turn backwards for release |
Opens fully and springs back |
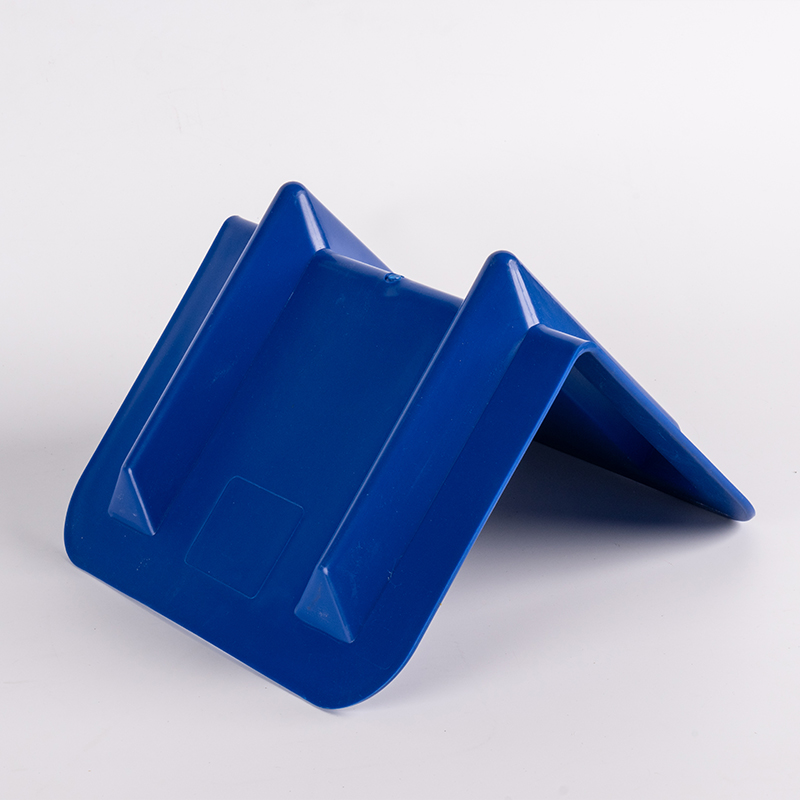
| Edge protectors and soft loops |
Spread pressure and protect cargo edges |
Fitted wherever webbing touches a corner |
The load rating is printed on a label sewn into the webbing. Read that label instead of guessing from the width of the strap, and choose a strap whose rating comfortably exceeds the weight of what you are securing.
 EasyLifting 1.5-Inch x 8-Ft Ratchet Strap with J HookReview the sewn-in load rating and match this 5,000 lb breaking-strength strap to heavy cargo securement needs.View Product →
The Setup Sequence, Step by Step
- Inspect and lay it out flat. Unroll the full length, look for chafed or melted webbing, and check that the ratchet opens and closes smoothly. A strap that fails inspection never gets threaded.
- Open the handle all the way. The ratchet must be in the fully open position before threading, because the slot in the spool is only clear at that point. Force the webbing in with the handle half closed and you will jam the pawl.
- Thread from the underside. Feed the loose end of the webbing up through the slot in the centre of the spool, entering from the back of the ratchet and exiting toward the front, then pull 20 to 30 cm through. Threading from the wrong side is the most common reason a strap simply will not grip.
- Take up the slack by hand. Pull the webbing through until it sits snug against the load. The handle is for tensioning a few centimetres, not for hauling metres of webbing.
- Set the hooks. Attach both end fittings to anchor points that are rated for the load, close every safety latch, and keep hooks away from thin sheet metal and sharp edges. Route the strap so it pulls in a straight line.
- Pump the handle. Two or three strokes, then push against the cargo by hand and watch for movement. Add strokes until the load stops shifting, not until the webbing feels rock hard.
- Lock down and stow the tail. Press the handle flat against the frame until it locks, then tie or clip the loose tail so it cannot whip in the wind or catch on a wheel.
The Number That Actually Matters
Working load limit is roughly one third of breaking strength: a 5,000 lb strap is designed to hold about 1,650 lb in service.
Breaking strength is the point at which the strap snaps. Working load limit is what it is designed to hold day after day, and that is the figure to compare against your cargo weight. Add up the weight of the load itself, then remember that a strap running at an angle loses capacity the further it sits from a straight pull.
Across logistics and transportation work, the rule we pass on to customers is simple: one strap per rated anchor point, sized so that losing any single strap still leaves the load restrained.
Field-Tested Setup Tips
Small habits make the biggest difference over a thousand load cycles. These are the ones our customers report back on most often.
- Two straps beat one very tight strap. Loads shift because of a gap somewhere, not because the webbing was not tight enough.
- Match the fitting to the anchor point: J-hooks for rails and D-rings, S-hooks for round tube, soft loops where there is no hook point at all.
- Never knot the webbing. A knot can cut tensile strength by half and makes release almost impossible.
- Keep webbing clear of exhausts, hot metal and solvent drips; polyester handles weather well but not heat or chemicals.
- Pull the strap straight rather than across a corner, and add a protector wherever it changes direction.
- Coil and hang straps after use. A strap stored in a wet footwell is a strap you will be replacing next season.
Heavier loads, such as equipment on a flatbed, call for a wider webbing and a stronger ratchet body than a light utility load.
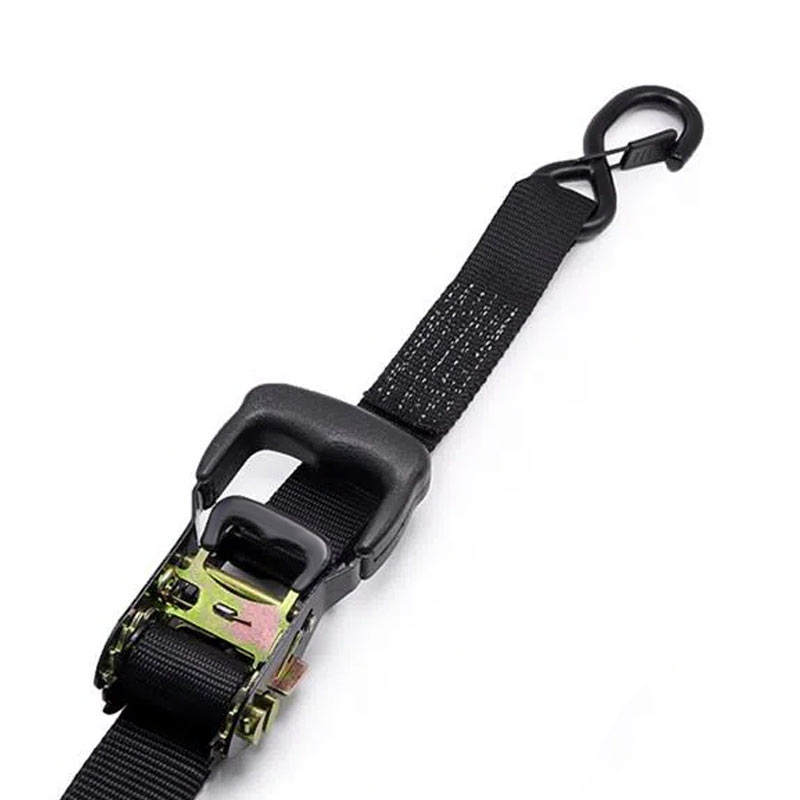 2-Inch x 15-Ft Heavy Duty Ratchet Tie-Down StrapsFor heavier loads where a wider strap and heavier-duty ratchet are needed, this 2-inch, 11,000 lb breaking-strength tie-down is portable and quick to adjust.View Product →
Common Setup Mistakes and How to Fix Them
Almost every failure we investigate in the field is a setup issue rather than a product issue. The right-hand column is usually a ten-second correction.
Typical ratchet strap setup errors and the quick fix for each one.
| What goes wrong |
How to fix it |
| Webbing threaded from the top of the spool |
Feed it up through the slot from the underside |
| Handle used to winch in slack |
Pull the webbing through by hand first |
| Strap tensioned across a sharp corner |
Fit a corner protector at every contact point |
| Hook clipped to thin body panels |
Move to a rated anchor point or use a soft loop |
| Handle left half open after tensioning |
Press it down until it locks flat |
| Release lever lifted while the strap is under load |
Keep one hand on the handle and open the lever slowly |
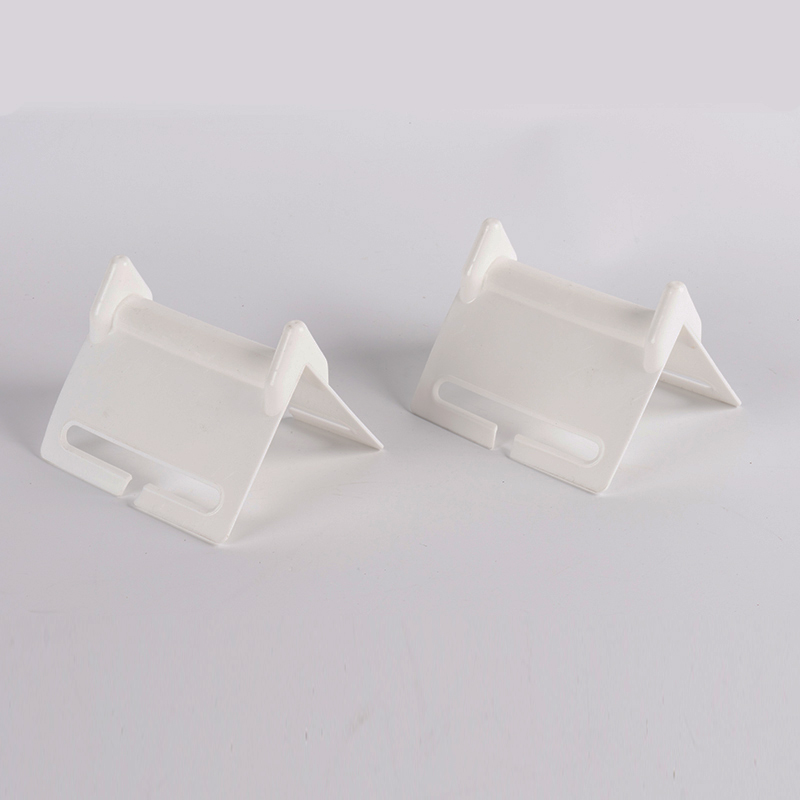
Protecting the cargo matters as much as protecting the strap. Edge protectors spread the load over a wider area and stop webbing from cutting into soft or painted surfaces.
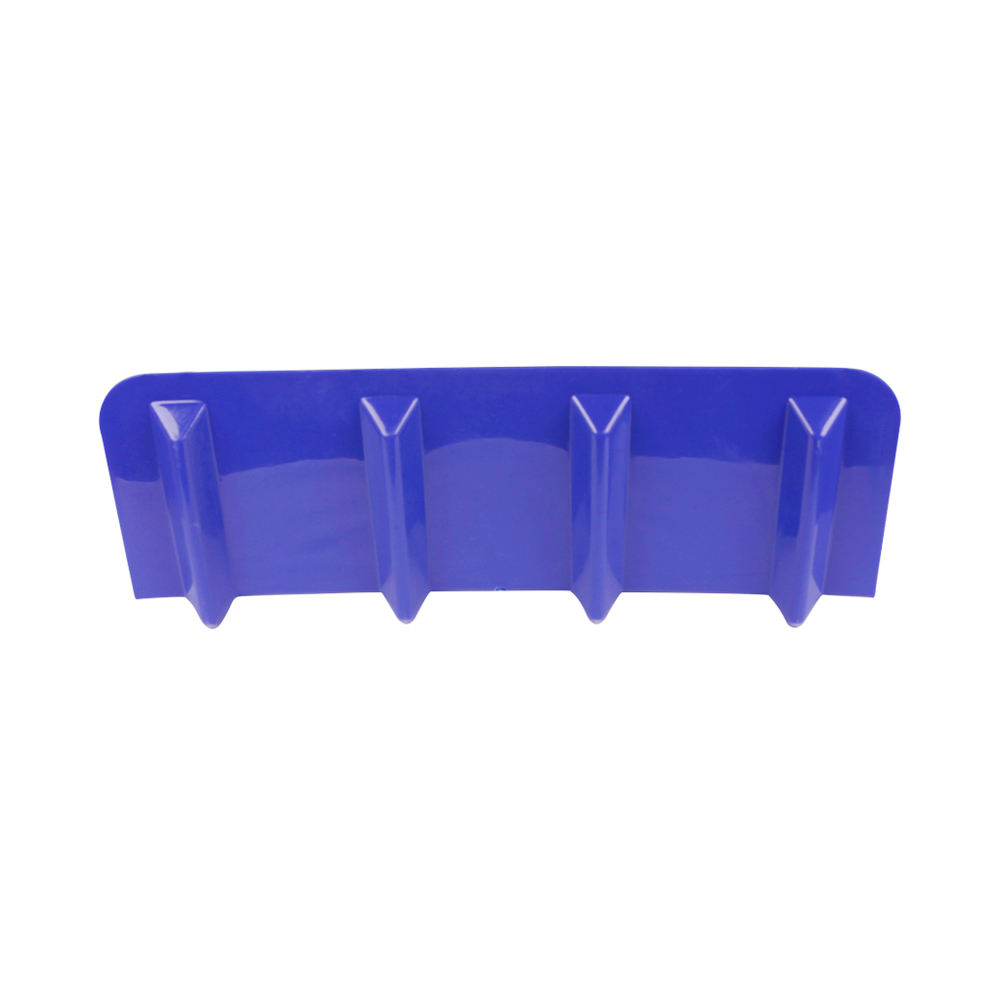 24 Inch Plastic Corner Protector For Flatbed Cargo LoadWidth: 11.6 inchView Product →
A 60-Second Pre-Departure Check
Walk around the load once and confirm each of these before you pull away.
- Every strap carries a readable label and is rated for the load.
- Webbing is free of cuts, glazing and knots along its full length.
- Hooks sit flat on rated anchor points with latches closed.
- Handles are locked down and loose tails are tied off.
- The load does not move when you push it firmly by hand.
- Corner protectors are in place wherever webbing meets an edge.
Safety Notes Worth Repeating
A ratchet strap is a cargo restraint, not a lifting sling. Never use one to lift or suspend a load, and never exceed the working load limit printed on the label.
Retire any strap with a damaged label, a bent ratchet frame, a deformed hook or webbing that has been cut, melted or exposed to strong chemicals. Store straps coiled, dry and out of direct sun, and inspect them before every trip rather than after a problem.
When you release a strap, keep a hand on the handle, open the lever slowly and let the tension come off gradually. Releasing a loaded strap in one quick movement is how fingers get caught and loads tip.
Setup Habits That Travel Well
Threading, tensioning and releasing a ratchet strap is a skill that improves quickly with repetition, and the payoff is cargo that arrives exactly as it left. Once the sequence becomes automatic, the inspection step is what you will notice most, because it is the one that quietly prevents most roadside surprises.
If you are still working out which strap style suits your operation, our overview of common ratchet strap applications is a useful next read before you order.




 English
 中文简体